
 Image 1 of 15
 Image 2 of 15
 Image 3 of 15
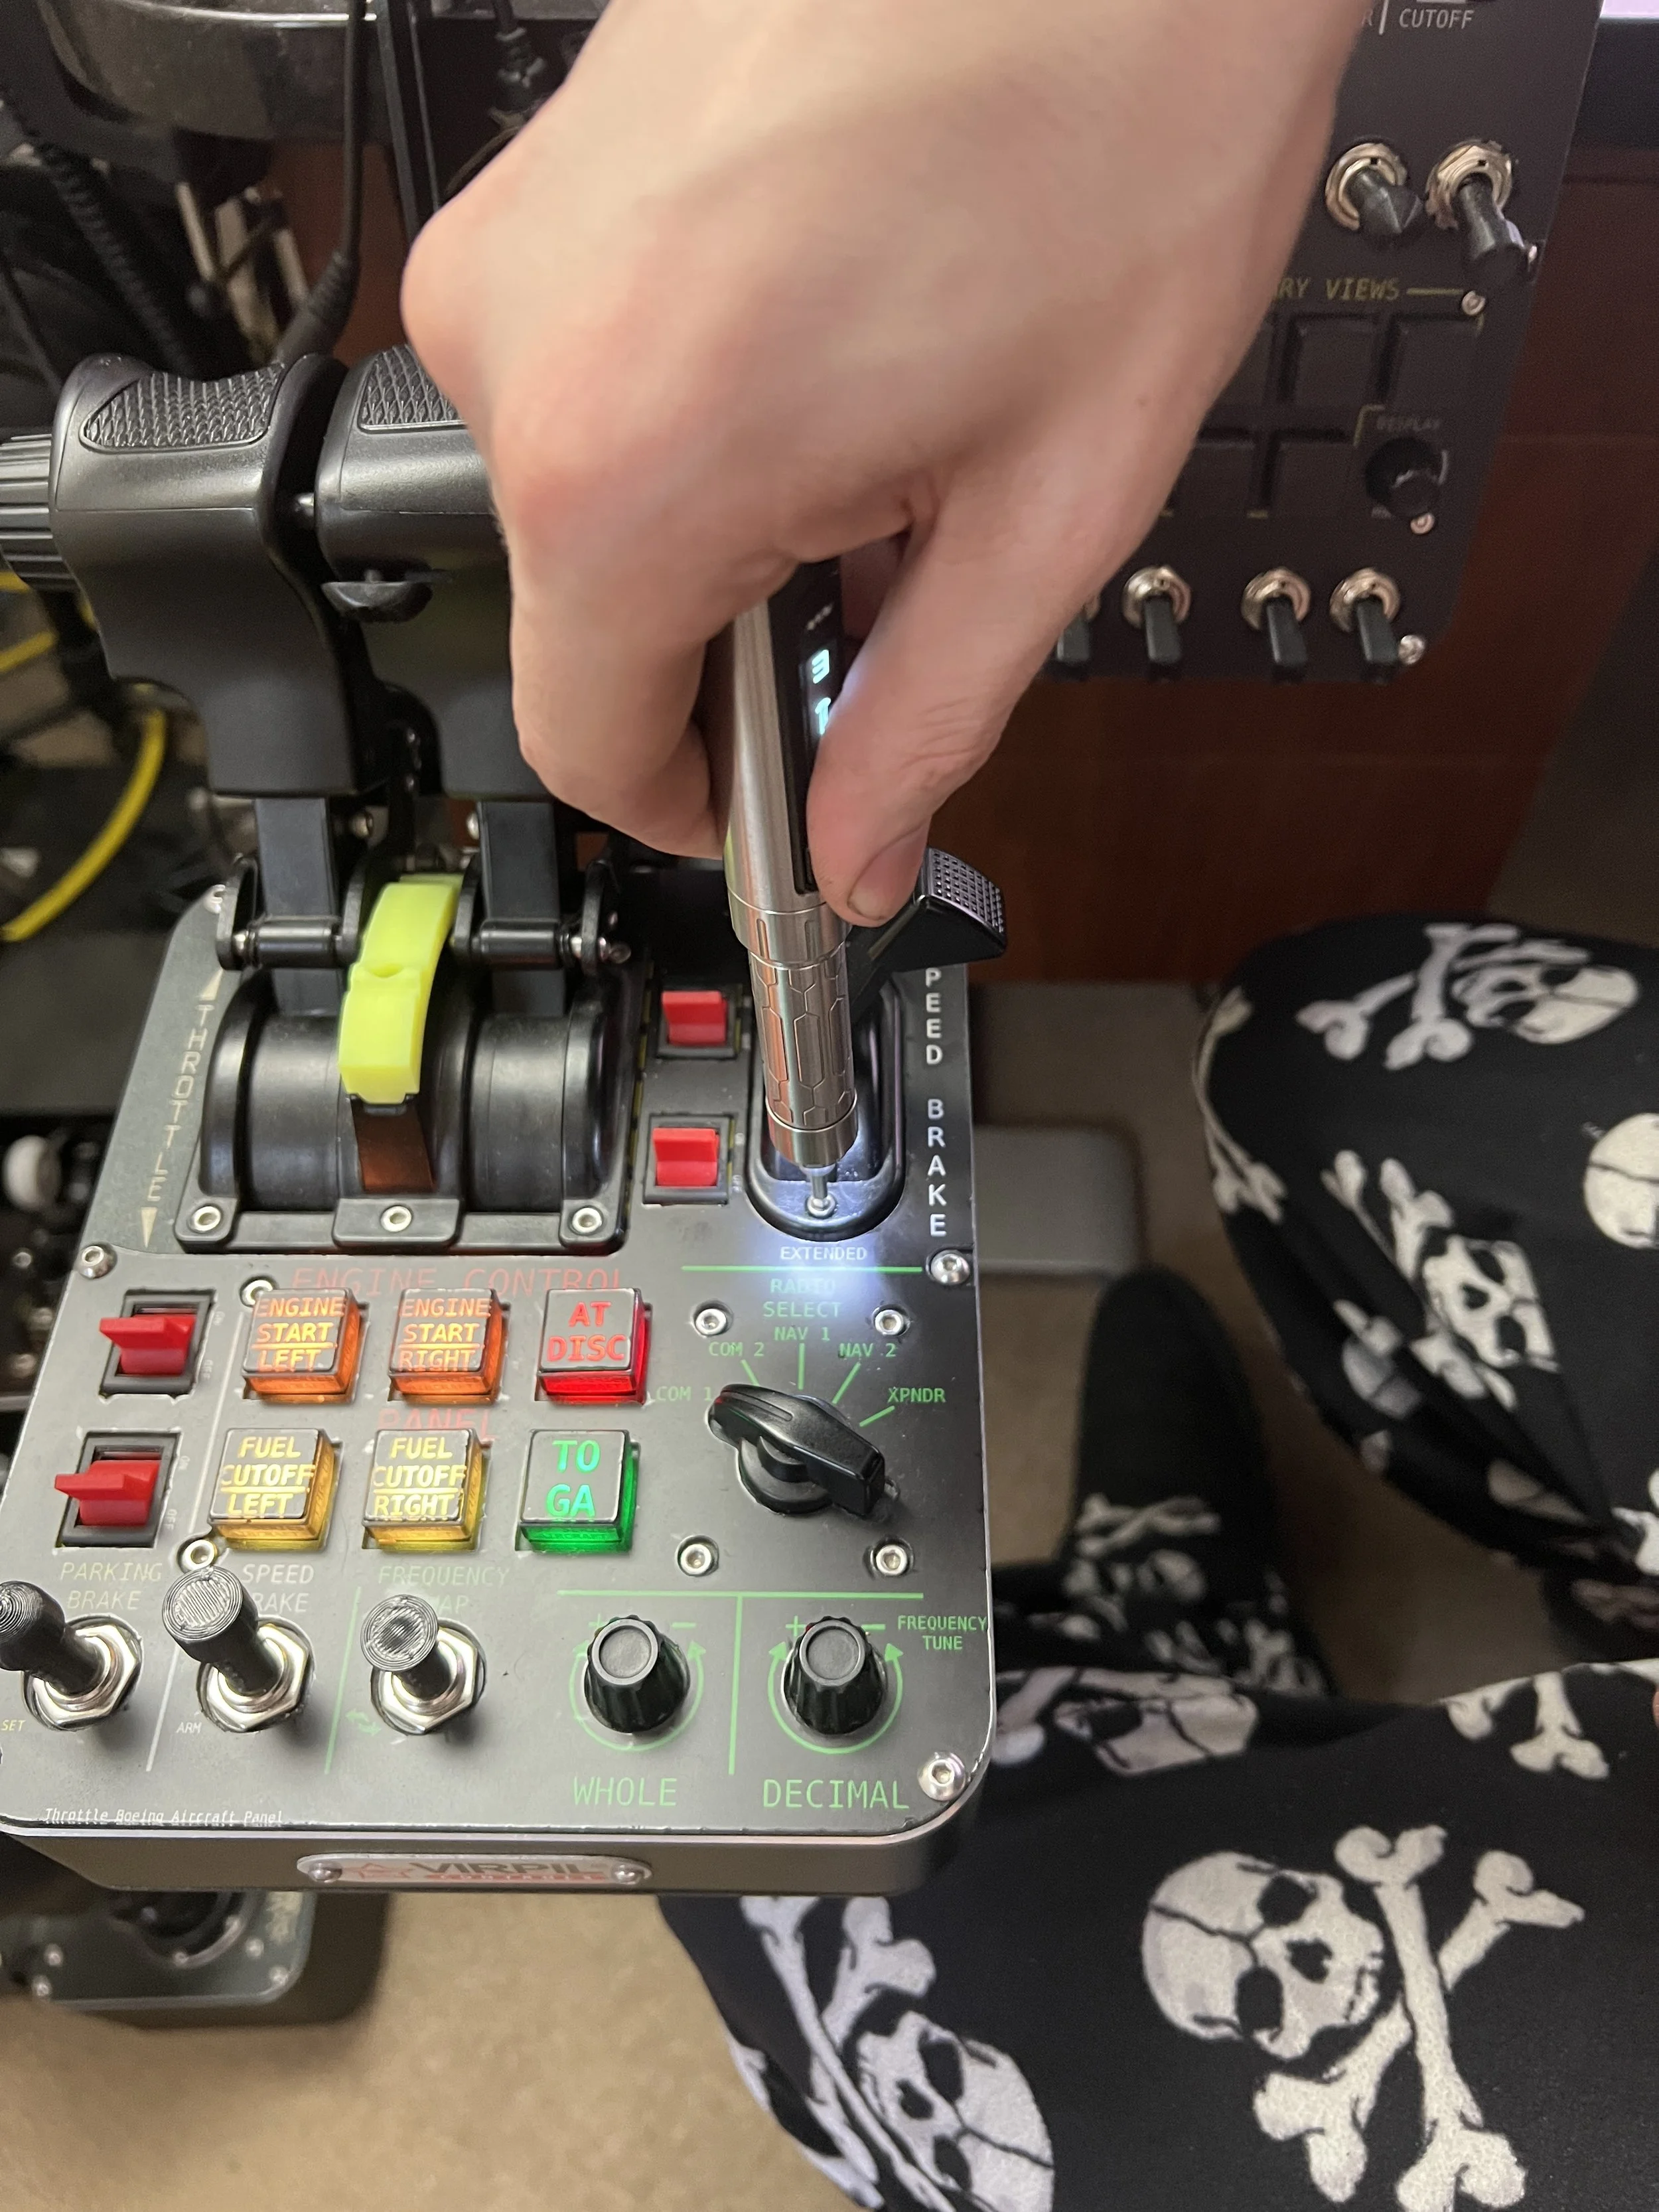
 Image 4 of 15
 Image 5 of 15
 Image 6 of 15
 Image 7 of 15
 Image 8 of 15
 Image 9 of 15
 Image 10 of 15
 Image 11 of 15
 Image 12 of 15
 Image 13 of 15
 Image 14 of 15
 Image 15 of 15
Install Instructions:

Second:
You are going to want to remove the 2 screws(shown right) that are holding the flap handle plastic cover in place. You do not need to pull the cover OR the handle off, only remove the screws. Set these removed screws in a safe place. DO NOT throw the stock hardware away.
Third:
(Below)Place the 2 square nuts in the slots located on the main body part of the handle assembly shown below. If it fits and slides to the bottom it’s ok. Below and right is an example of what you should see when both are in place. Be careful not to flip it over when the nuts are in place as they will fall out and can be hard to find.


Finally:
(Right) Using the 2 longer round-head screws, fix the detent rail and stock plastic cover back in place. It is ideal to keep a very small gap (below) between the detent rail and handle assembly. The closer together the magnets get, the stronger the feeling that is “felt”.

First:
Let’s make sure your kit came with everything it should have. You should have 1 detent rail, 2 handle parts, 4 round head screws(2 longer and 2 shorter), and 2 square nuts. The magnets should be pre-glued in place. An example of the contents of a Starter Kit can be seen to the left.

Forth:
Grab the handle parts’ main body, with the square nuts installed, and the backer piece and position them as shown (left) in the photo. Using the 2 shorter round-head M3 screws, fix the handle assembly in place ensuring it’s as high on the lever as it can be and against the Virpil-supplied plastic handle found stock on the lever. When installing you can “pinch” both parts of this assembly with your fingers on one hand to help get a screw started with the other. Once one screw is in a semi-snug position you can freely move to the second screw ensuring both are snug enough that the assembly shouldn’t move when done. Overtightening may cause damage to the prints.
